Have you ever wanted to bring your backyard to life with the perfect lighting?
With a few simple steps, you can install string lights on your fence and create a bright and inviting atmosphere! Read this article to learn how to transform your backyard easily and quickly. You won’t want to miss out on this opportunity!
Introduction
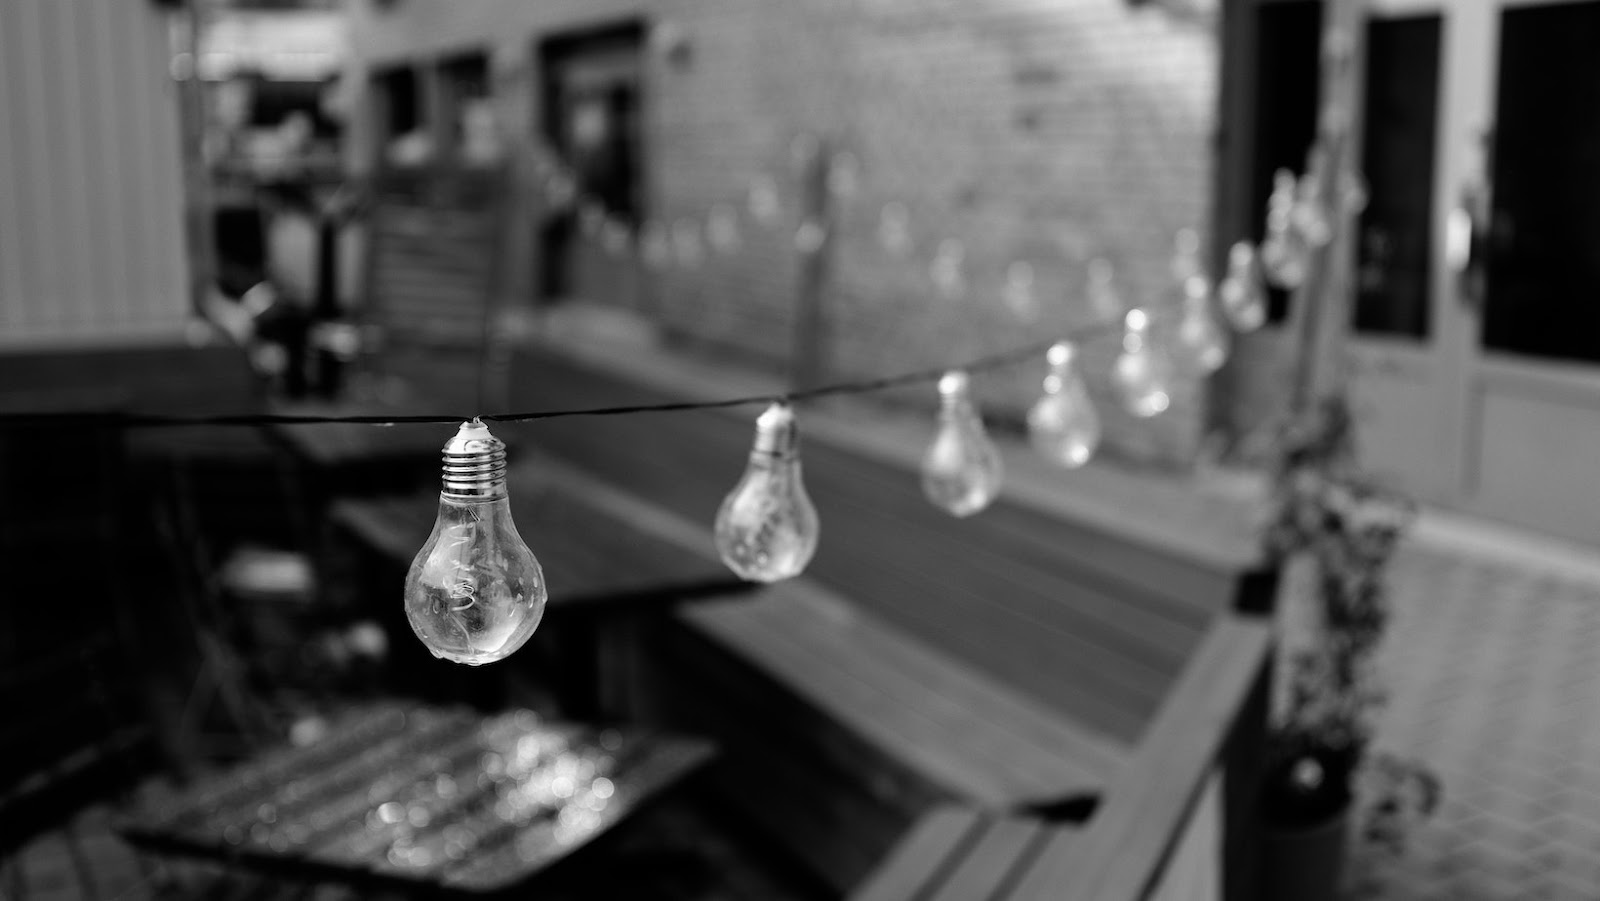
String lights can add a magical touch to your backyard fence, illuminating your outdoor space and creating a cozy atmosphere. Here’s how you can install string lights on your fence:
Tools you’ll need:
- Measuring tape
- Light string clips or zip ties
- String lights
Step 1: Measure the length of your fence to determine how many string lights you’ll need to purchase.
Step 2: Attach light string clips or zip ties to the fence, spacing them out evenly along the length of the fence.
Step 3: Attach the string lights to the clips or zip ties, making sure that the bulbs are facing down.
Step 4: Continue attaching the string lights to the clips or zip ties until you reach the end of the fence.
Step 5: Connect the string lights to a power source and enjoy your beautifully lit backyard. Pro tip: Use LED string lights for energy efficiency and brighter light.
How To Install Backyard Lighting On Fence
String lights come in a variety of styles and sizes, making them perfect for any outdoor space. Here are four types of string lights that can add a touch of ambiance to your backyard:
- Globe String Lights: These are ideal for creating a soft, warm glow in your backyard. Globe string lights come in different sizes and colors.
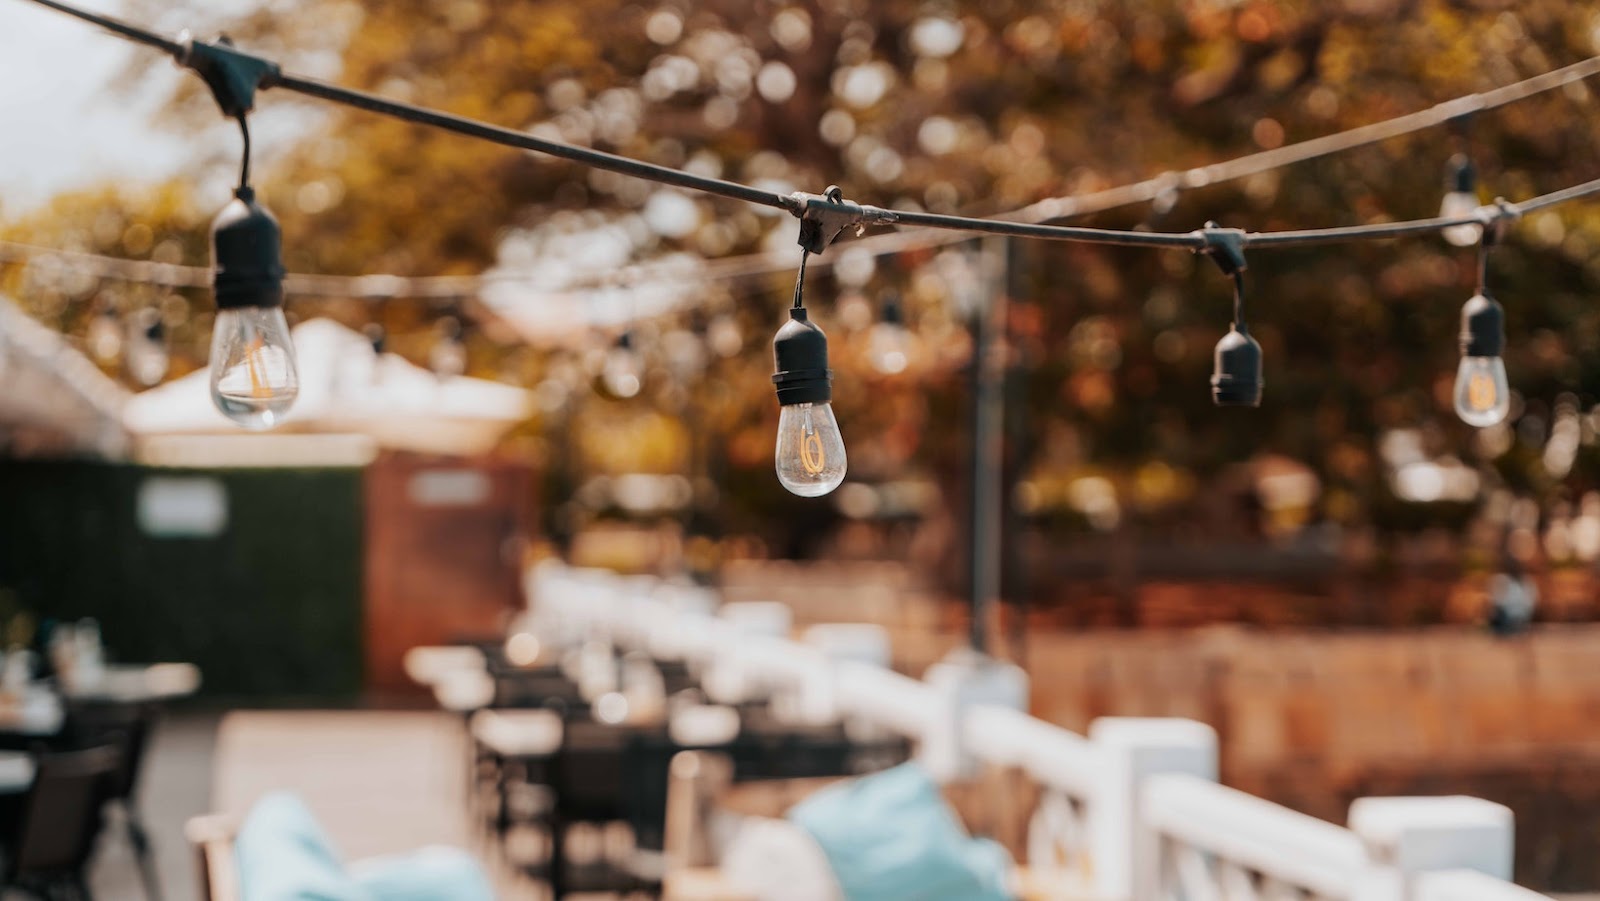
- Edison Bulb String Lights: These lights have a vintage feel, and they emit a warm yellow glow. Edison bulb string lights are perfect for creating an intimate, cozy atmosphere in your backyard.
- Fairy String Lights: These delicate lights are perfect for creating a whimsical atmosphere in your outdoor space. Fairy string lights come in various colors and sizes, making them ideal for any occasion.
- Rope String Lights: These lights are perfect for creating an industrial look in your backyard. Rope string lights emit a cool white light and are often used to highlight architectural elements or to line garden paths.
To install the string lights on your fence, measure the perimeter of your fence and select the appropriate length of string lights. Attach the lights to the fence using clips or hooks. Make sure to connect them to an outdoor power source, and enjoy your beautifully lit backyard!
Pro tip: For a more permanent installation, consider using a drill to insert hooks or cup hooks into the fence posts.
Necessary Supplies
Before installing string lights on your fence for backyard lighting, there are some necessary supplies you’ll need to gather to make the installation process smoother.
Here are the supplies required:
- Measuring tape to measure the length of the fence that needs to be covered.
- String lights preferably LED type, that are rated for outdoor use and have an appropriate length to cover the fence.
- Hook screws to secure the lights to the fence.
- Drill machine to create pilot holes for the hook screws.
- Pencil to mark the location of the pilot holes on the fence.
- Ladder to reach the top portion of the fence where the lights will be installed.
Once you have gathered all the necessary supplies, you can proceed with the installation process of string lights on your fence for a beautiful and atmospheric backyard lighting setup.
Preparing the Fence
If you’re looking to add a warm and cozy ambiance to your backyard, installing string lights on your fence is a perfect solution.
Here is how to install backyard lighting on your fence:
- Planning: Begin by measuring the length of the fence where you want to install the lights. Determine how many strands of lights you will need and what kind of tools you will require for installation.
- Installation: Nail small hooks or cup hooks evenly spaced along the fence where you want to install the lights. Hang the lights on the hooks in a zig-zag pattern, making sure they are secure.
- Power: Plug the string lights into an outdoor electrical outlet or use a heavy-duty extension cord to connect them to an indoor outlet.
Your fence is now ready to create a beautiful ambiance with the soft, warm glow of the string lights.
Pro Tip: Use a timer to automatically switch lights on and off for improved energy management.
Installing the String Lights
Installing string lights on your fence is a great way to transform your backyard into an inviting, cozy space. Here is a step-by-step guide on how to install backyard lighting on your fence:
- Measure the length of the fence where you want to hang the lights and purchase enough string lights to cover that distance.
- Get some zip ties and screw hooks. Space the screw hooks every 3-4 feet along the fence.
- Use the zip ties to secure the string lights to the hooks. Start at one end of the fence and work your way across.
- Plug in the lights and test them to make sure they are working.
- If your fence is not near a power supply, you may need to use an extension cord to plug in the lights.
Pro tip: Use LED string lights for a brighter and more energy-efficient option. And, make sure to turn off the lights during the day to save electricity.
Troubleshooting Tips
Installing string lights on your fence is a fun and easy way to add some ambiance to your backyard. However, issues can arise when installing and maintaining them. Here are a few troubleshooting tips to help you out:
Problem 1: Lights won’t turn on/off. If your lights won’t turn on or off properly, check to make sure that the power source is working correctly. If that’s not the issue, replace the bulbs or the fuse.
Problem 2: Lights are too dim. If your lights are too dim, make sure that the wattage of your bulbs matches your power source. You can also add more lights to brighten things up.
Problem 3: Lights are flickering. If your lights are flickering, first try tightening the bulbs. If that doesn’t work, replace them with new ones. If you’ve tried both of these solutions and are still experiencing flickering, it may be an issue with your power source or wiring.
By following these troubleshooting tips, you can get your string lights up and shining in no time!
Conclusion
In conclusion, installing string lights on your fence is a simple and effective way to add some magic to your backyard living space.
Here are the steps to consider for fence lighting installation:
- First, determine the length of the fence you want to light up.
- Choose the string lights that you’d like to use, making sure they are rated for outdoor use.
- Measure the distance between each light socket along the string and mark the fence where you’ll be attaching the lights.
- Using screws or hooks, attach the string lights along the fence, making sure they are secure.
- Plug in your lights and enjoy the enchanting glow they give off!
Pro Tip: For a more ambient lighting effect, choose warm or soft white bulbs.
Further Reading
If you are looking to install string lights on your fence to add aesthetic appeal and create a cozy outdoor ambiance, here are some further reading resources to guide you through the process:
- “How to Install String Lights on a Fence” by The Home Depot provides a comprehensive guide with step-by-step instructions and a list of necessary tools and materials.
- “DIY String Light Poles in Under One Hour for Less Than $100” by Bright July offers an alternative option to installing string lights on your fence, using poles instead.
- “20 Backyard Lighting Ideas That Will Make Your Night Wonderful” by Morning Chores is a collection of creative and inspiring backyard lighting ideas to help you elevate your outdoor space.
With these resources, you can take on the project of installing string lights on your fence with confidence and achieve the desired look for your backyard.